Welcome everyone!
If you’ve found this page, you’re looking for help or want to learn how to set up Google Analytics for your WordPress website. I’ve just set up mine and can help you. Buckle up and don’t stress your in the right hands.
Please make sure your age is verified on your Google account; otherwise, you may run into an error sign. If you’d like more details, please read my blog post about my experience setting up my analytics. Once you’ve verified everything is in order, then we can get started!
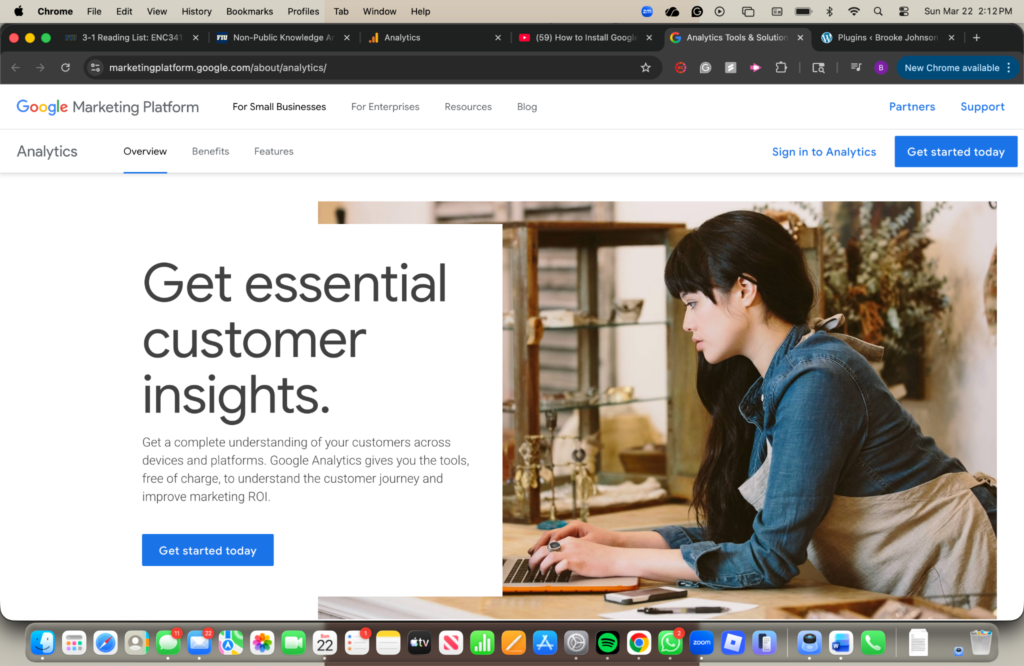
- Go to this website https://marketingplatform.google.com/about/analytics/
- Click the “Get Started Today” button
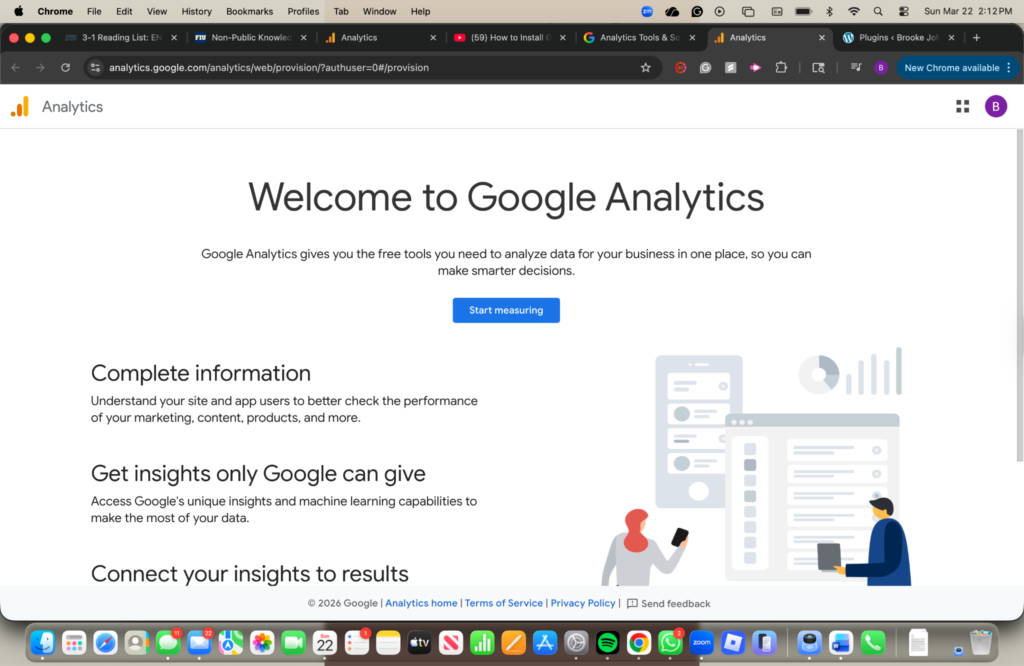
3. Click “Start measuring”
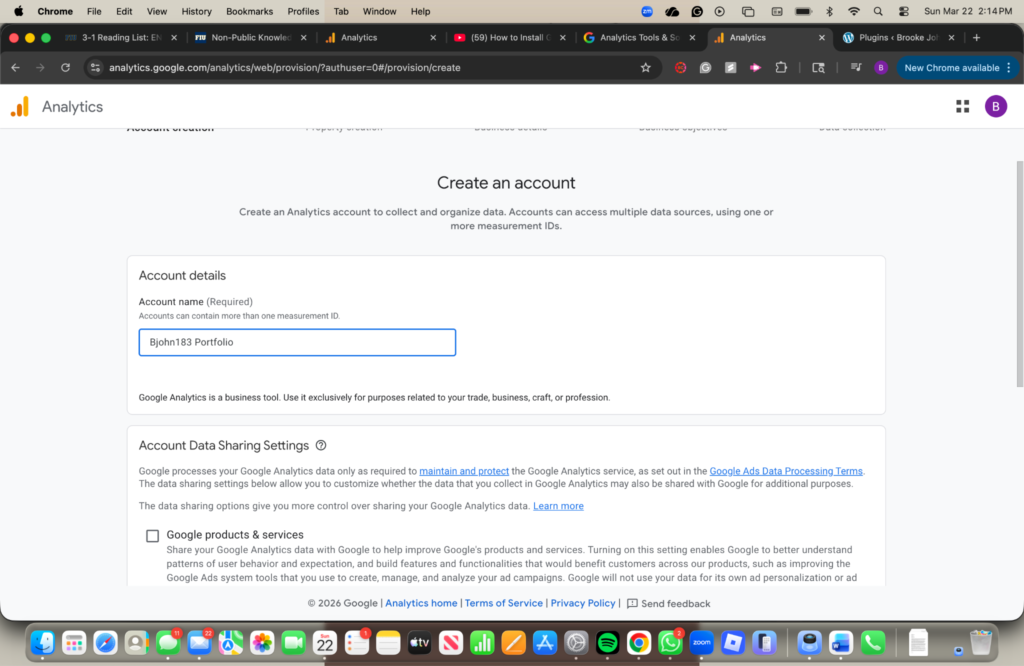
4. Fill in account details
This means you need to name your account. I named mine Bjohn183 Portfolio. You name your account whatever you think is best for your account
5. Select your data sharing settings
For the data settings, you should keep the ones Google automatically selected. If you also want to fill in the “Google products & services” button, you can, but that is your decision.
6. Scroll down and press create
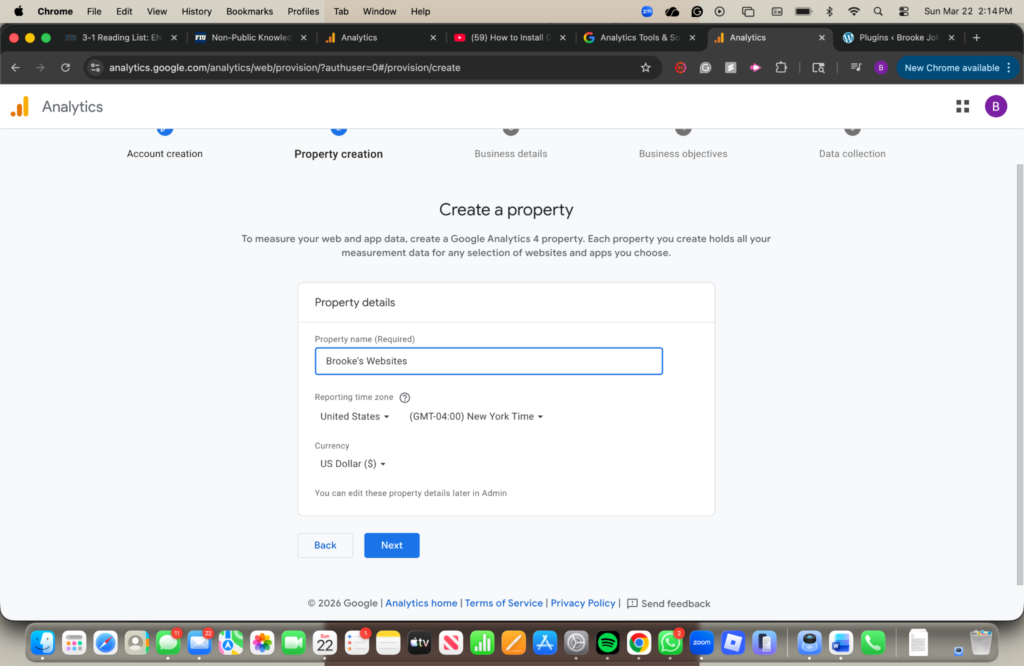
7. Name the property
This is the name of your specific website. I named mine Brooke’s Websites. Again, you choose what is best for you.
8. Press next
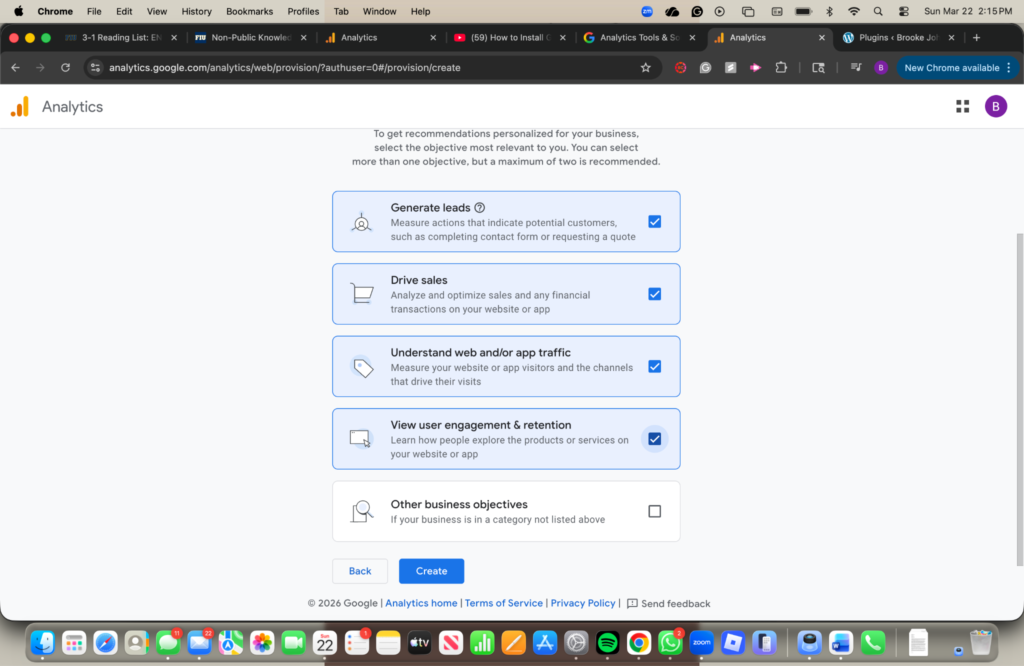
9. Click on generate leads, drive sales, understand web and/or app traffic, and view user engagement and retention
10. Then press create
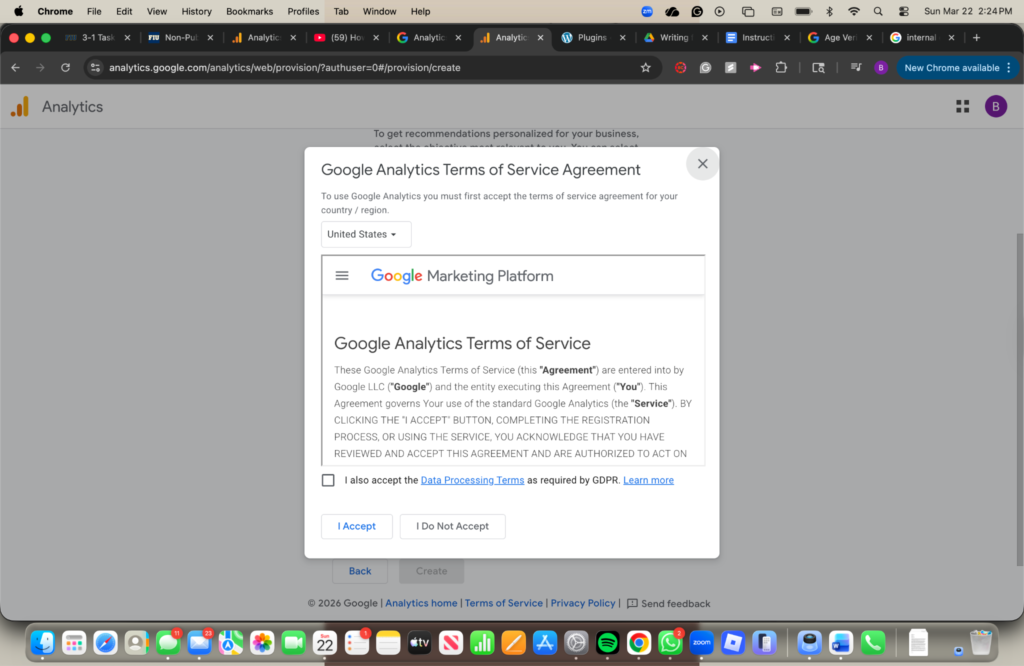
11. Read the terms of service
12. Accept in the box, and then a second ” I Accept ” button
13. Click the web button
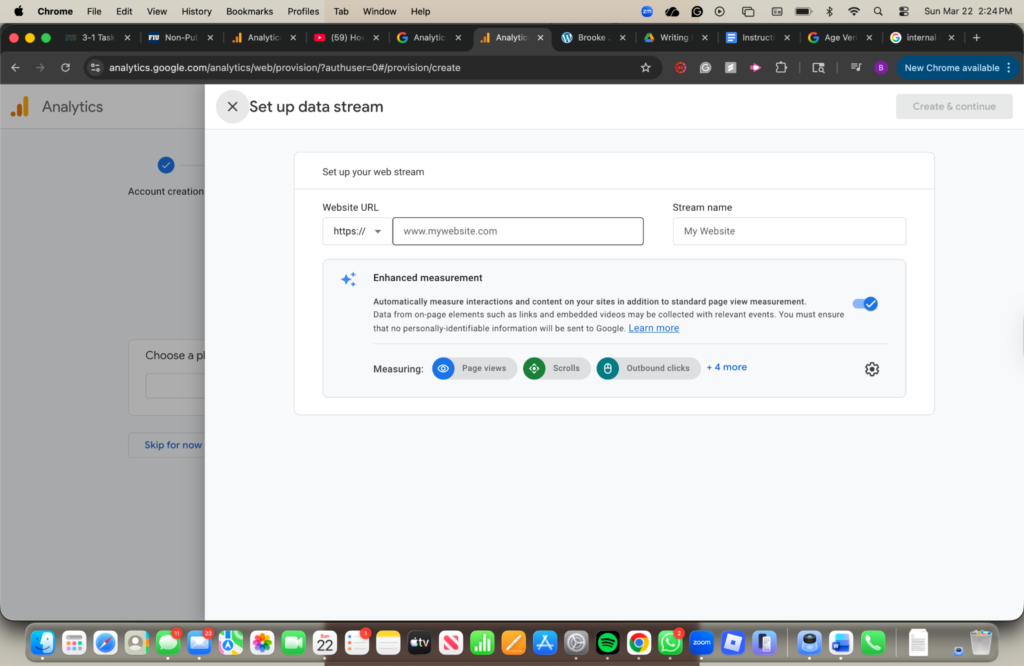
14. Enter your website link
Note: make sure that you use the www format in the example that is shown
15. Put the name of your website in the Stream Name box
16. Click the create and continue button in the top right corner
This is the end of setting up a Google Analytics account! You made it. Hopefully that wasn’t too hard. Now we’re going to head over to your WordPress Website.
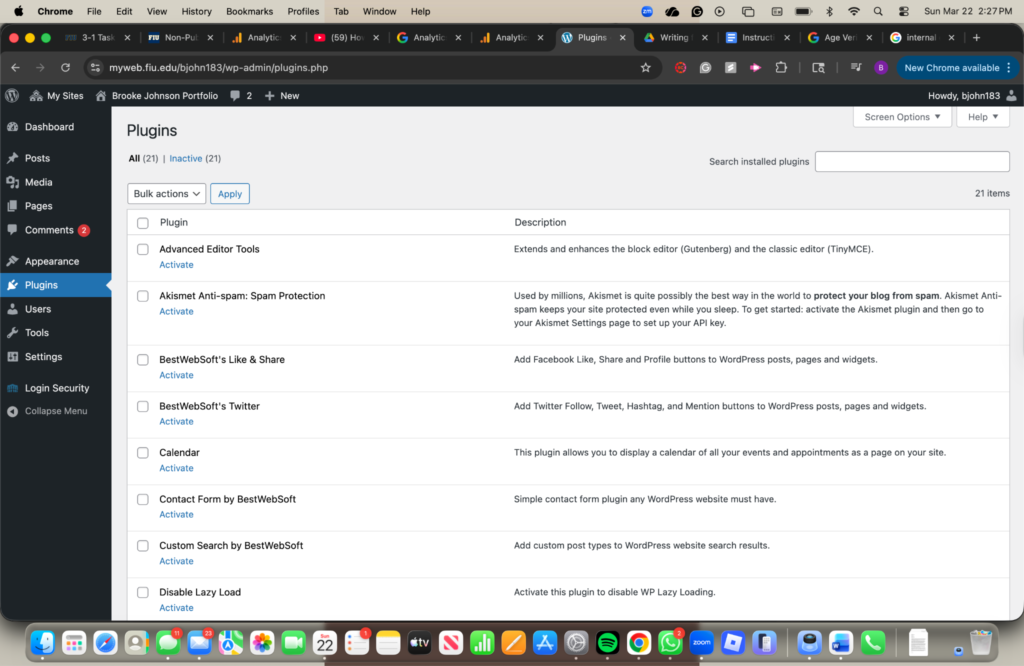
- Go to plugins on the left-hand side bar

2. Scroll down and find the plugin that says “google analytics for WordPress by Monsterinsights“
3. Press “Activate” which is located under the title
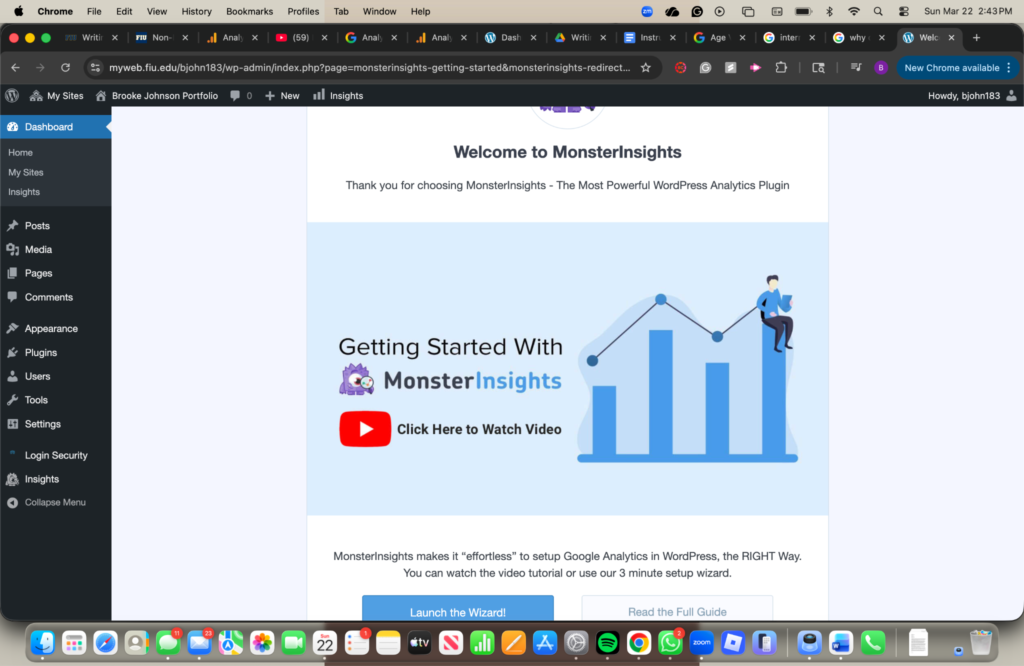
4. Watch the video
5. Click the Launch the wizard button
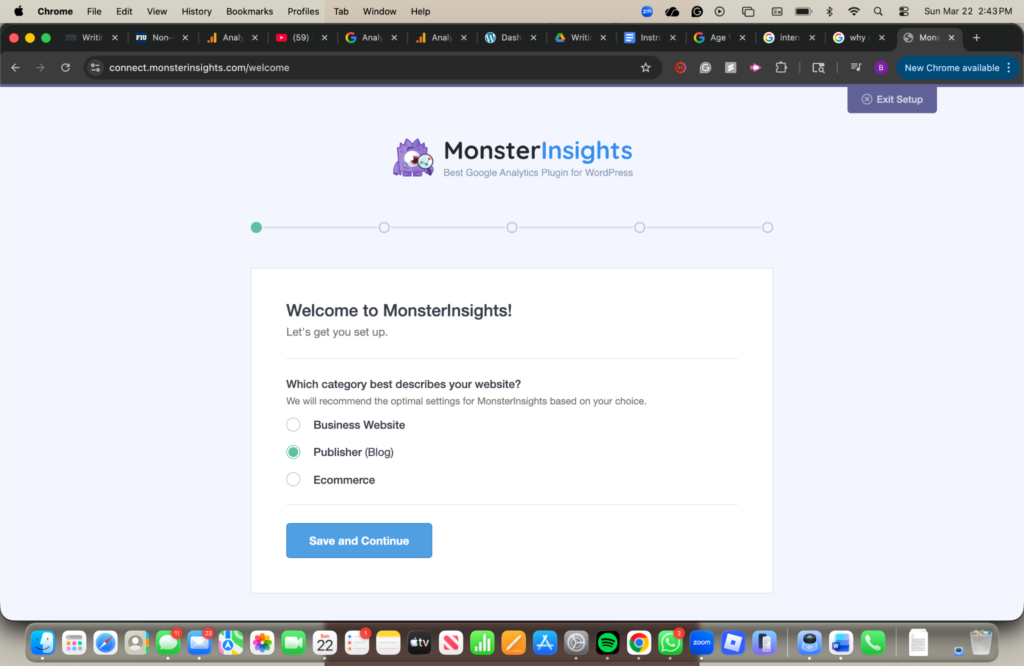
6. Select which category best describes your website
7. Click the save and continue button
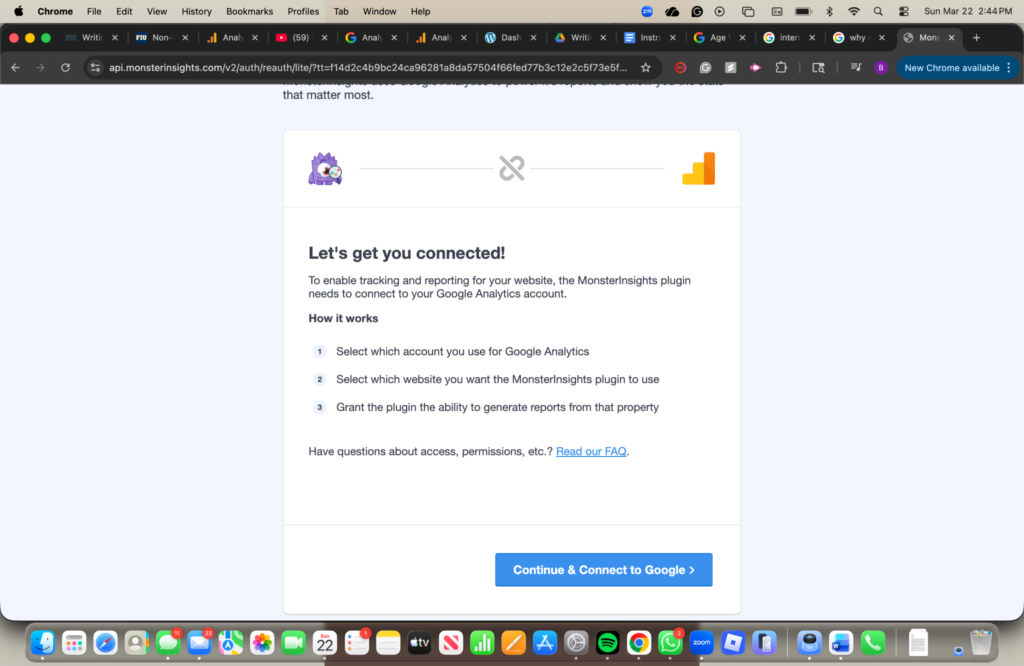
8. Click the continue button
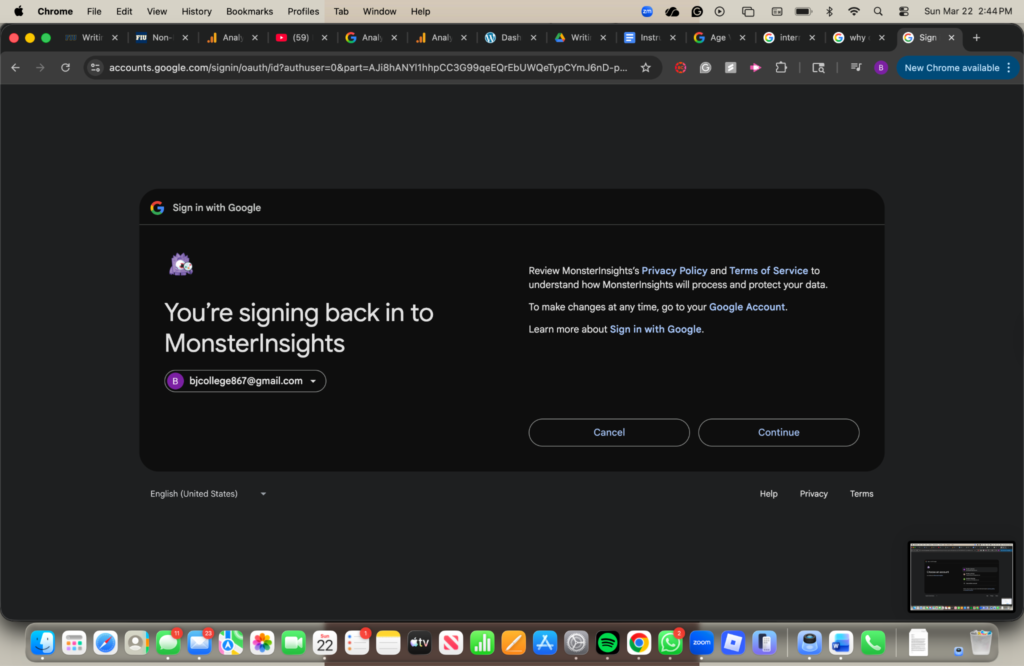
This is how you’re going to connect your Google account.
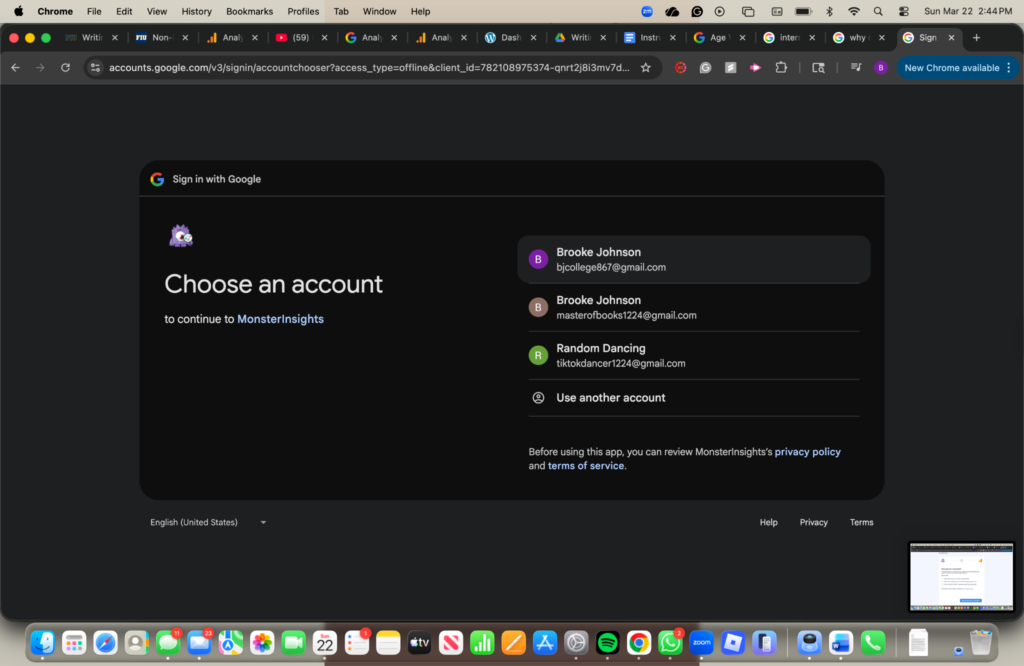
9. Select the Google account you want to connect
10. Select all the permissions
There will be a list of around 15 permissions that they want when connecting your Google account. I decided to connect all of them. But always decide what is best for you and your account.
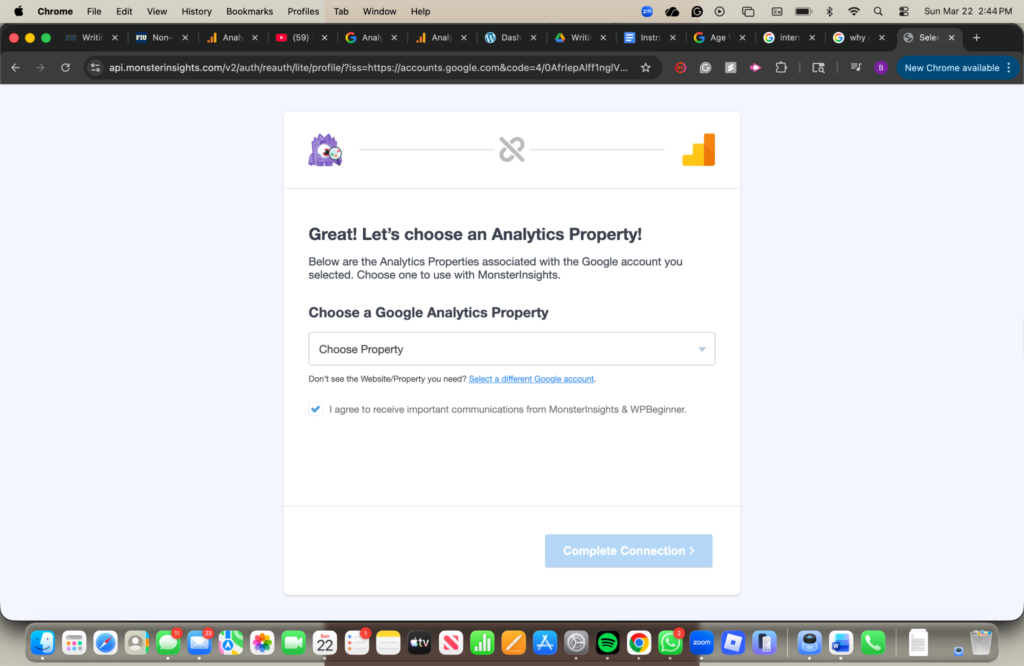
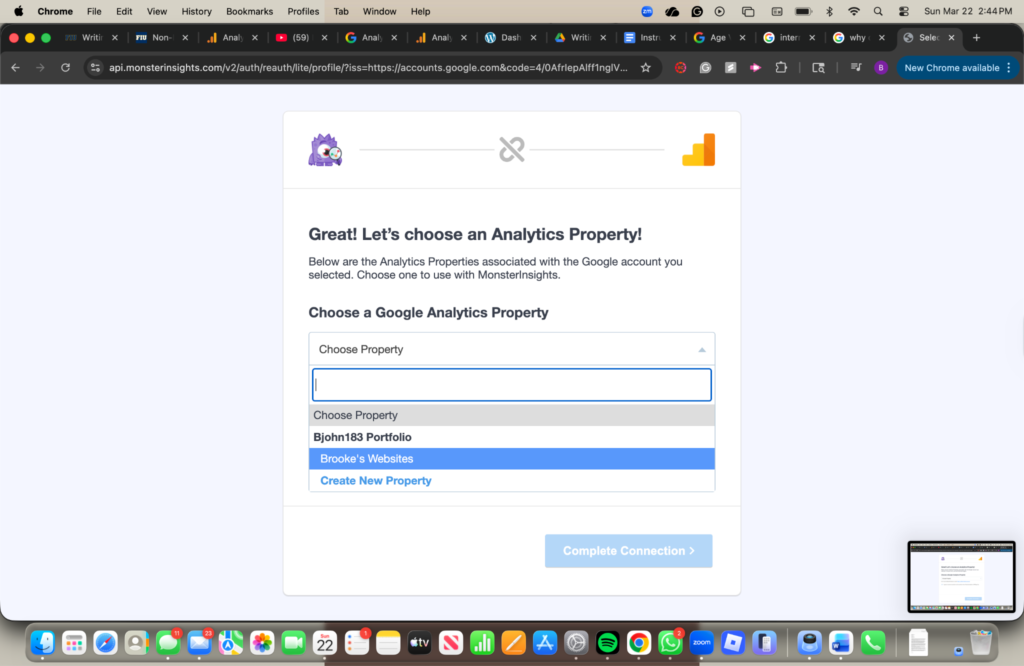
11. Choose the property
This will be the property name from step 7. The photo below shows mine.
12. Press the complete connection button
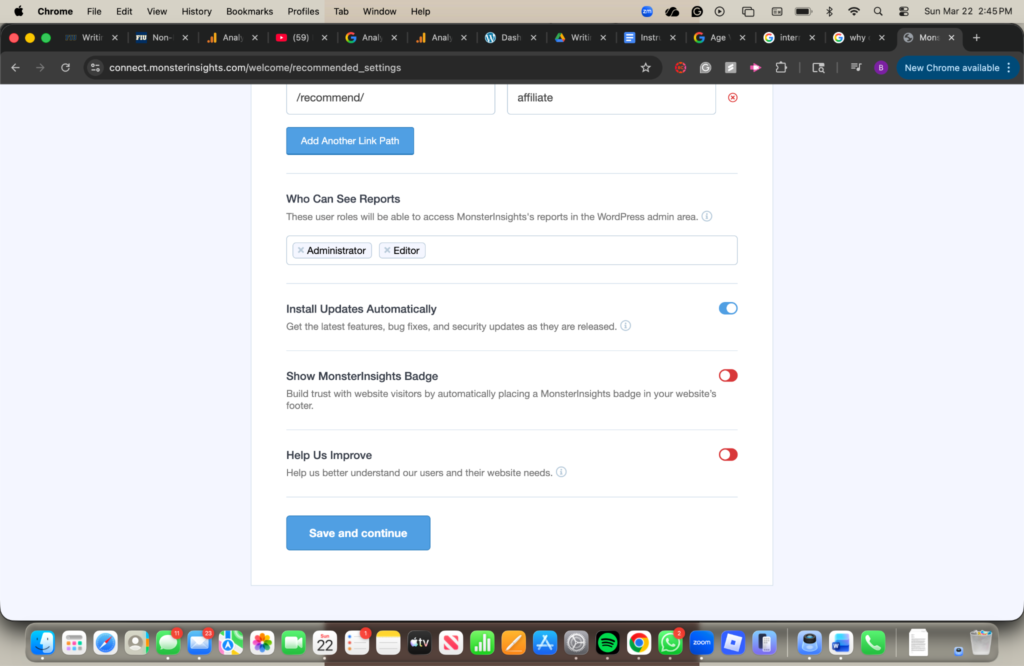
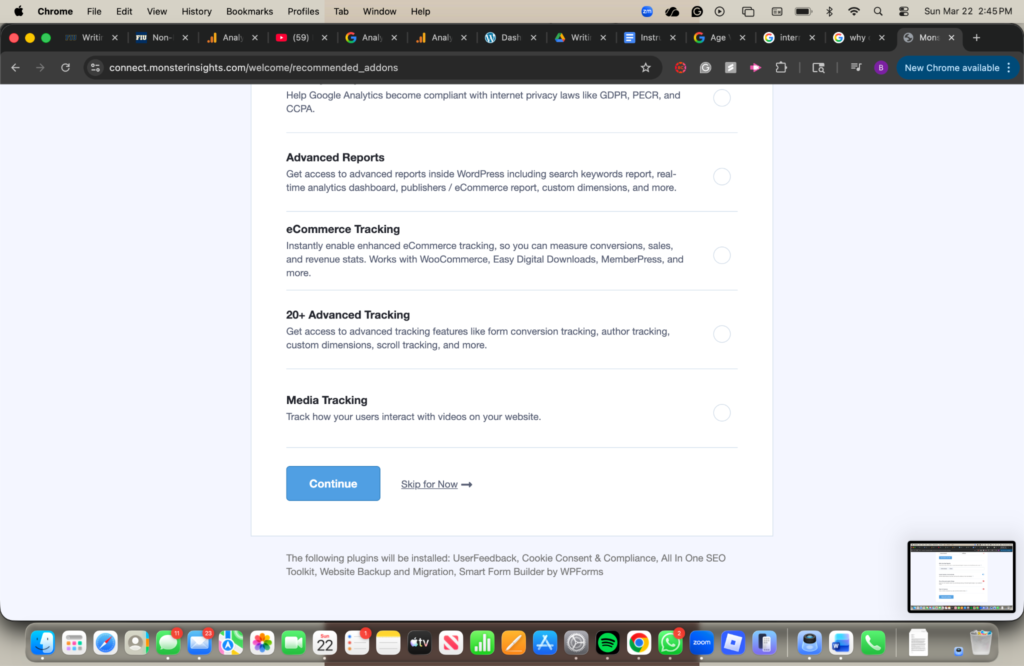
13. Go through all the pages, scroll to the bottom, and press the blue continue button
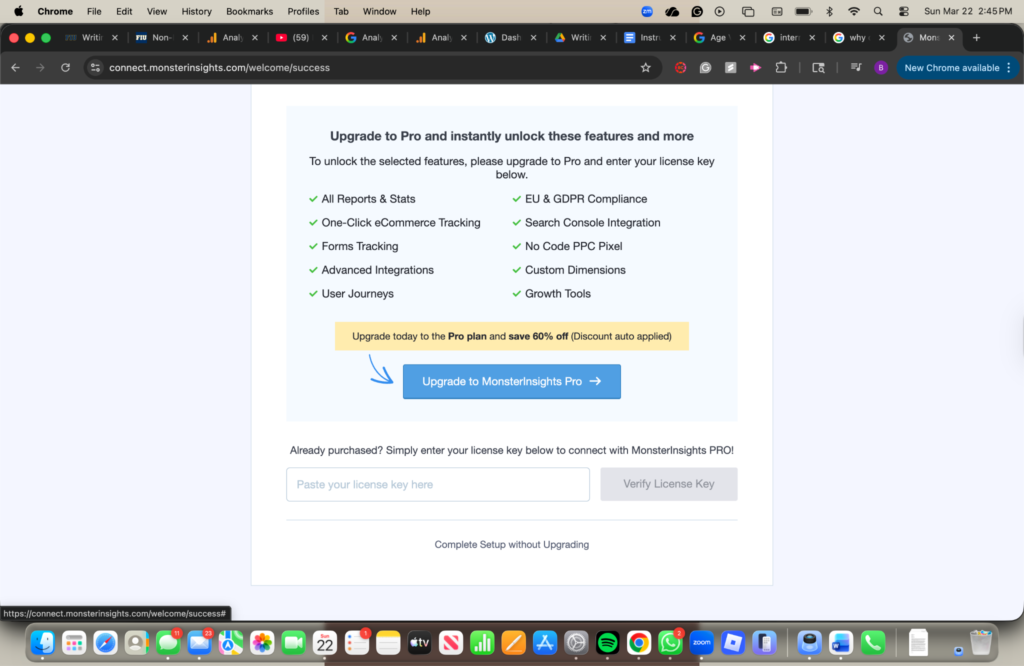
14. Scroll to the bottom and find the grey text that says “complete setup without upgrading“
Of course, everything has to have a pro plan that they want to pay for you. I’m a broke college student and don’t want to pay.
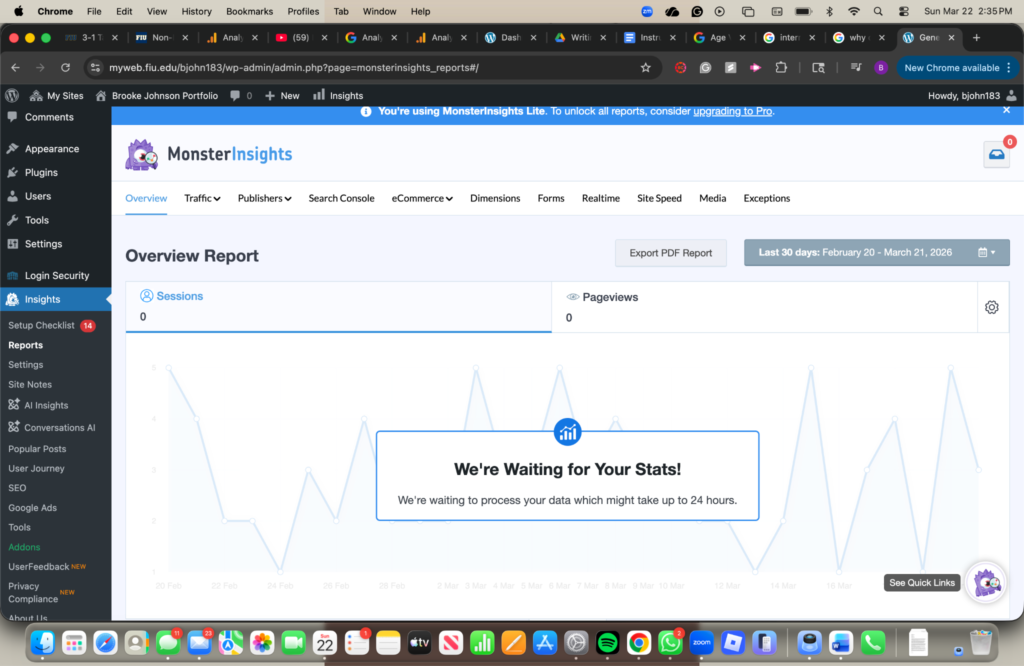
15. Wait for it to generate a report
YAY! We’ve officially added Google Analytics to our WordPress Website. It will take about 24 hours to generate your first report. If you want to find the reports again, you can go to the sidebar on the left and click Insights, then Reports.
Hopefully, these instructions helped you! Come back next week for more blog content!