How to Add Google Analytics to Your FIU MyWeb Site
Follow these steps to connect Google Analytics to your FIU MyWeb WordPress site.
- Visit the Google Analytics website, and click the “Get started today” button.
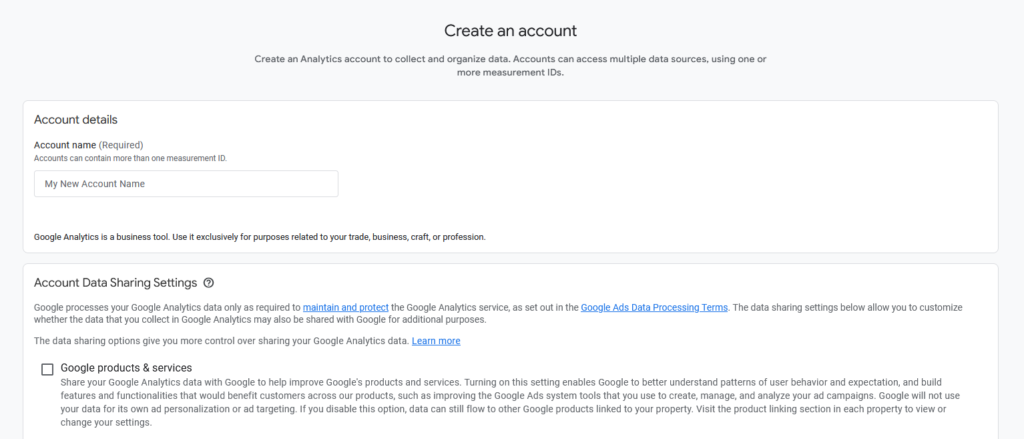
- On the Create an account page, give your account a name and customize the data-sharing options, then click the “next” button.
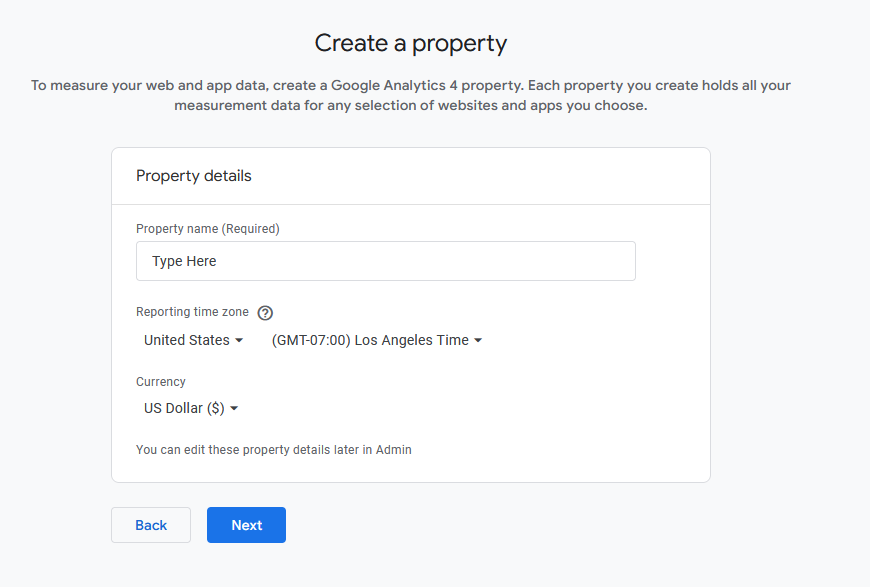
3. On the Property details screen, enter a name for your property. Then select your reporting time zone and the currency that matches your location. After completing this information, click the Next button.
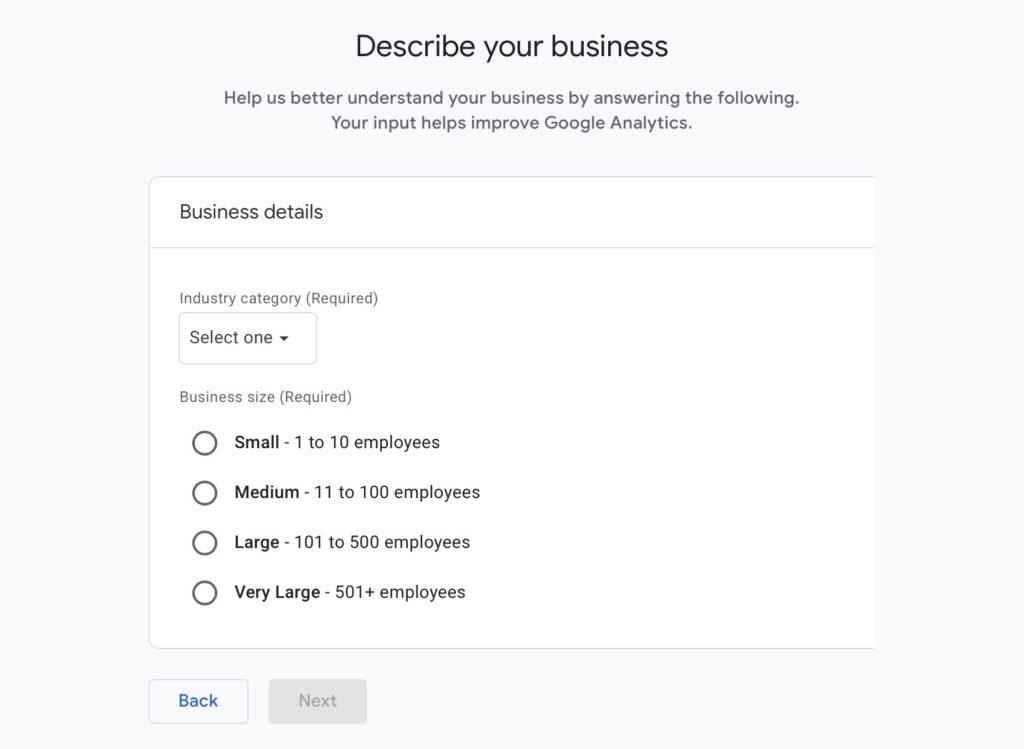
4. On the Business details screen, select your industry category and choose your business size from the available options. Click the Next button to continue.
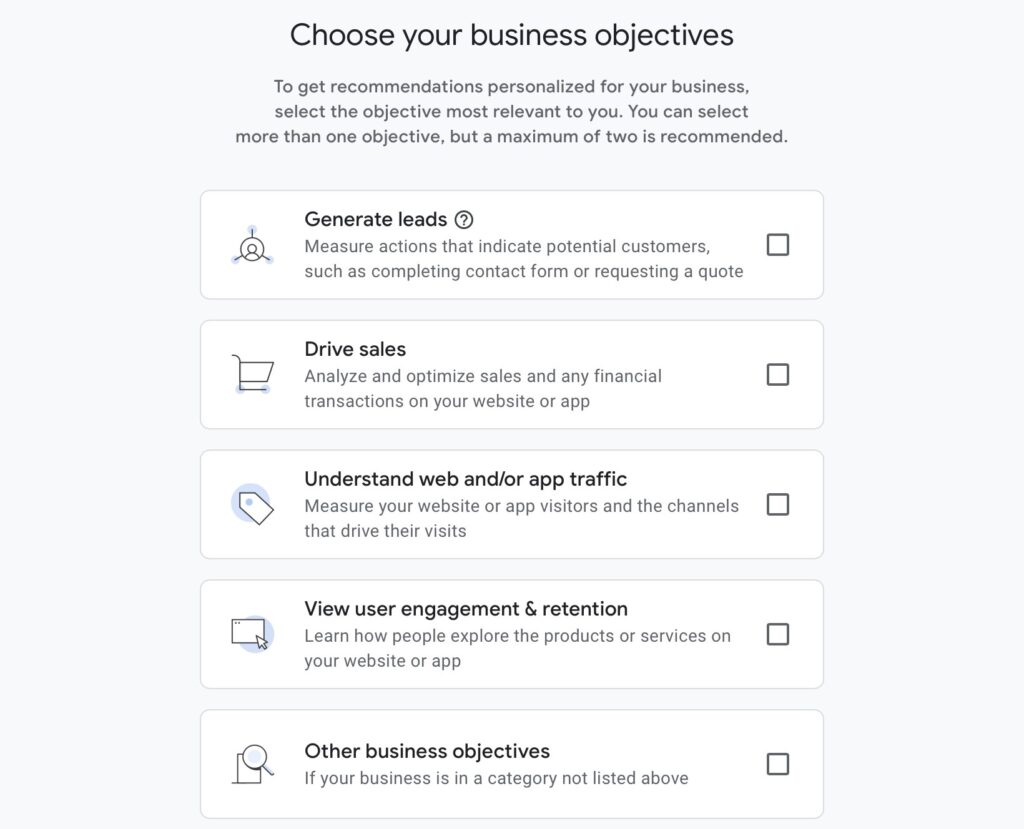
5. On the Business objectives screen, choose the objectives that best match how you plan to use Analytics. These selections help customize your reporting dashboard. When finished, click the Create button.
6. On the Data collection screen, select Web as your platform so that Analytics can begin tracking activity on your website.
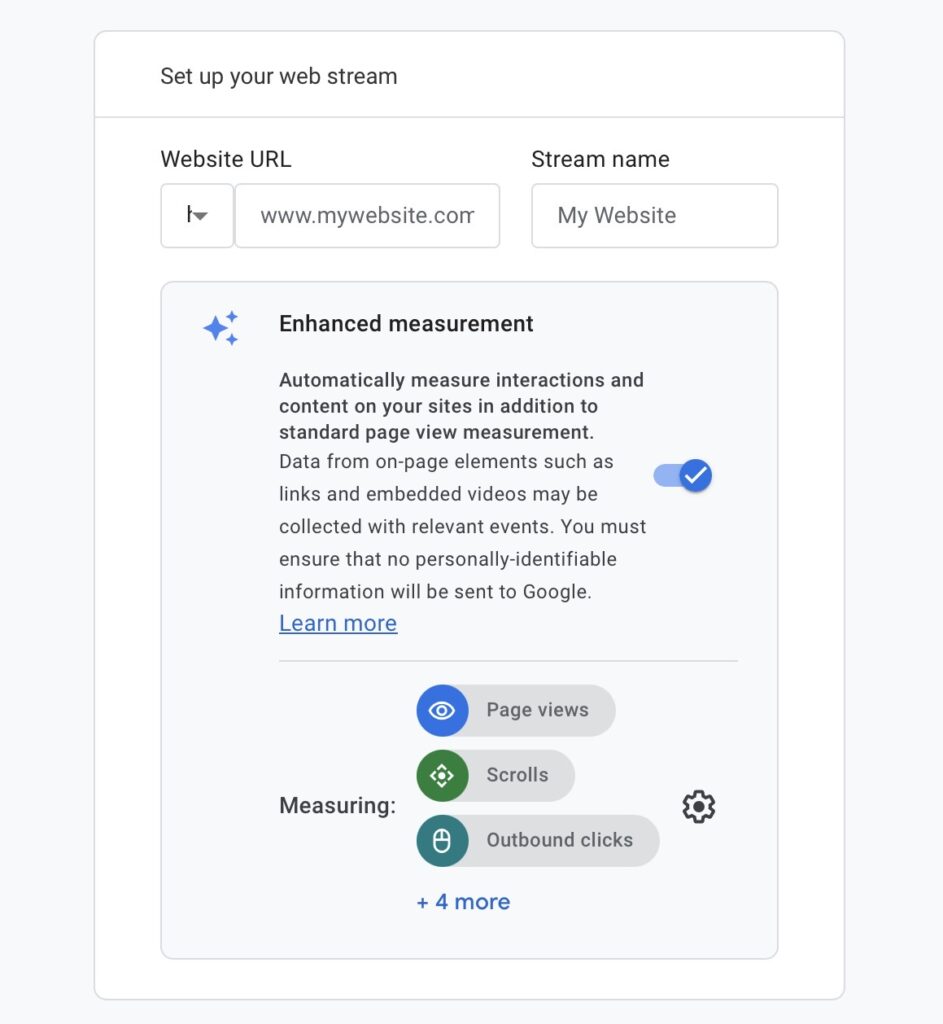
7. On the Set up data stream screen, enter your website address in the Website URL field. Then enter your site name in the Stream Name field. After confirming this information is correct, click Create and Continue.
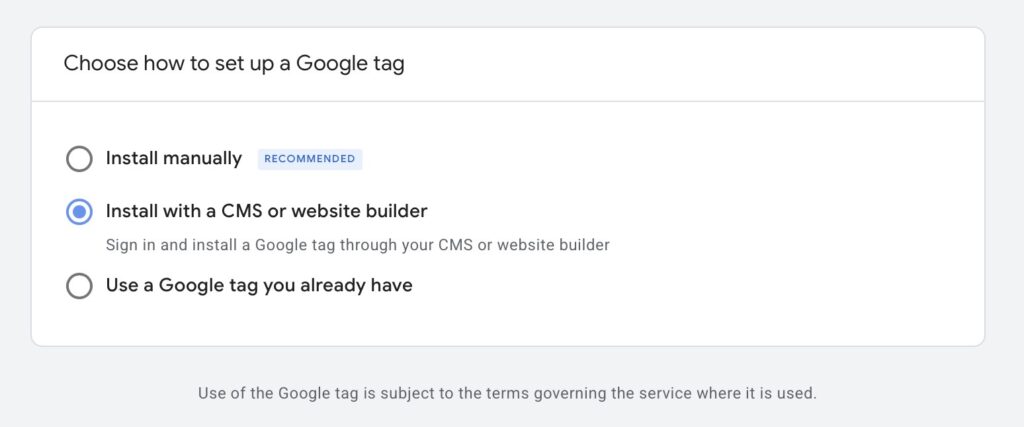
8. Locate the Install with a website builder or CMS option and click the Next button to continue the setup process.
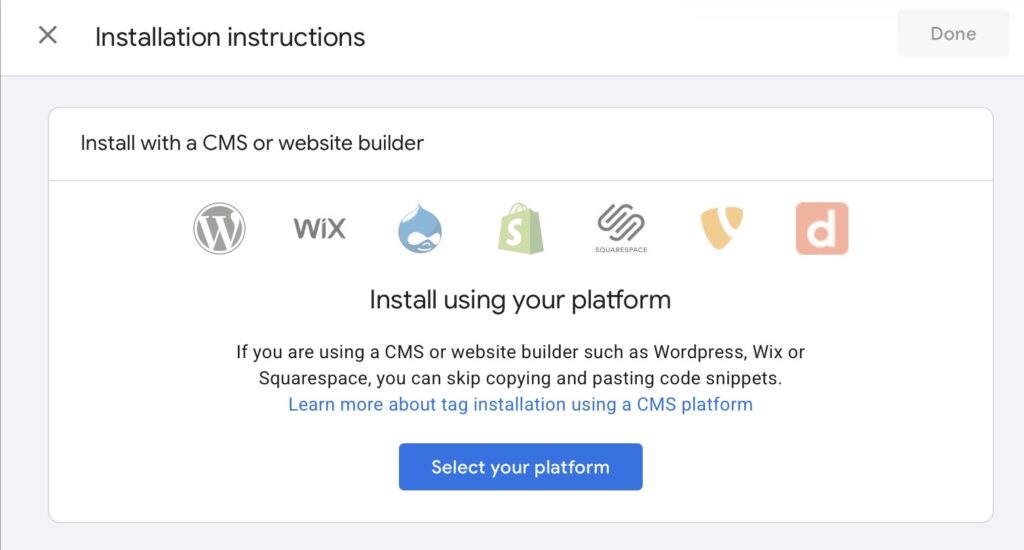
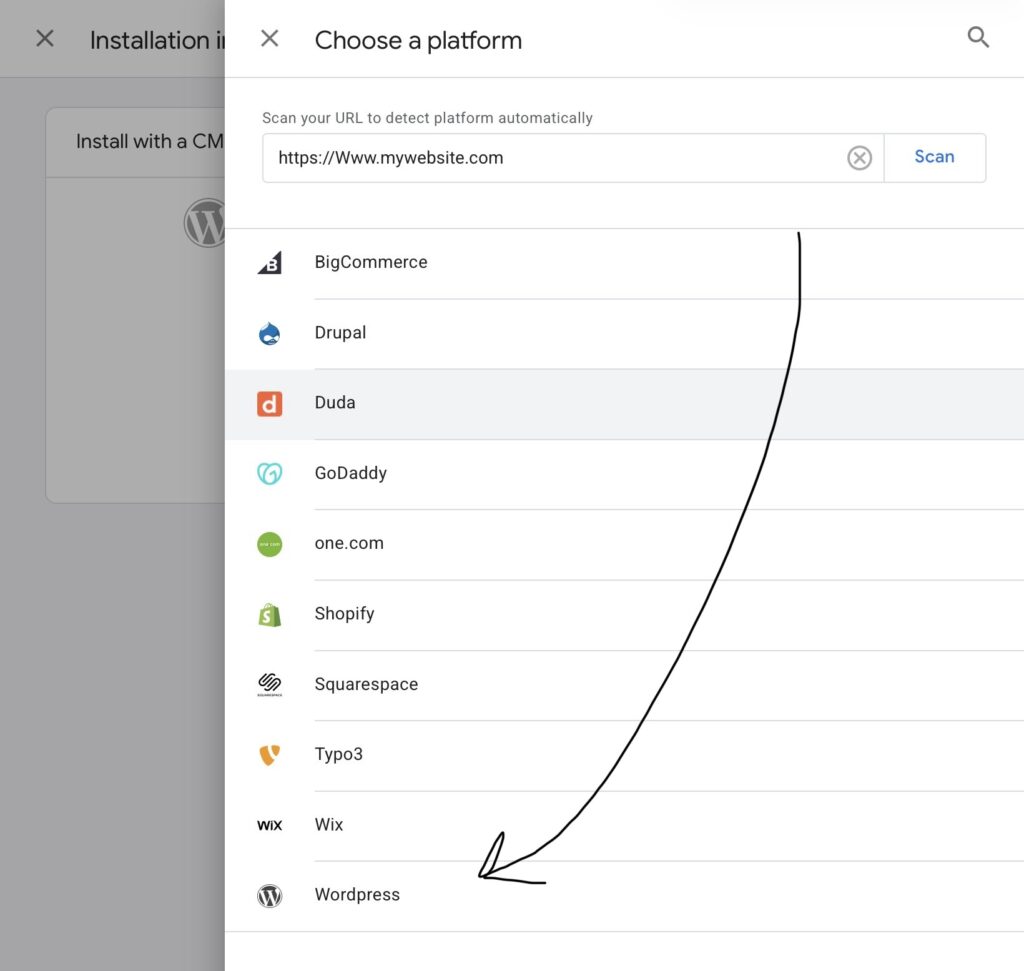
9. Click the Select your platform button and choose WordPress from the list of available platforms.
10. Locate your Tag ID, which begins with G-. Copy this Tag ID because you will need it when connecting Google Analytics to your WordPress site.

11. Open your FIU MyWeb WordPress dashboard, then navigate to the Plugins section. Find the plugin called Google Analytics for WordPress by MonsterInsights and click Activate.

12. After activating the plugin, open MonsterInsights from the dashboard menu and select Connect Google Analytics. Sign in using the same Google account you used to create your Analytics property.

13. Allow MonsterInsights to access your Google Analytics data when prompted. When asked to select a profile, choose All Website Data so that your site can begin tracking visitor activity.
14. Click Complete Authentication to finish connecting your website to Google Analytics. Your site is now successfully linked. Analytics reports will begin collecting data and should be available within about 24 hours.
Confirm Your Setup Is Working!
Return to Google Analytics and open the Reports or Realtime tab. Visit your website in a new browser tab, then refresh the Analytics page to confirm that your visit appears in the report.